


With plant based, vegan type diets gaining more and more popularity, the demand for more plant based alternatives rises. This includes non-dairy alternatives to milk, cheese, yogurt, sour cream and more. While you can find good deals on these products at your local supermarket sometimes, more often than not, healthier food alternatives come with a bigger price tag. One method of avoiding this hefty grocery bill, without sacrificing your health and moral standards, is to make your own non-dairy, milk alternatives at home. This is something that wont take up too much of your time, but will greatly impact your grocery budget and overall health and wellbeing!
While my personal favorite milk alternative is cashew milk, which I have covered in the past, there are many more to choose from. It all comes down to ones own personal taste and preference. I like the cashew milk more because it seems the thickest and reminded me the most of milk, something that another person may not prefer.

Because of my recent research of coconuts while writing the coconut article I did in the end of October and learning of the health benefits the coconut provides. I have decided to go over "coconut milk" with a step by step recipe. This is a very popular milk alternative that has been used to make anything from ice cream to yogurt!
Much like my "Homemade Cashew Milk Recipe," coconut milk is very easy to make. With only three ingredients and several optional ones, this is a nut milk in it's simplest form. Unlike many of the "store bought" options out there that contain extra ingredients such as locust bean gum, sunflower lecithin, gellan gum, ascorbic acid and many others. These ingredients are added to increase shelf-life and keep the milks from separating. Without binding agents, you just end up with a little bit of plant particles settling at the bottom of your milk jug. Nothing a little shake cant fix!
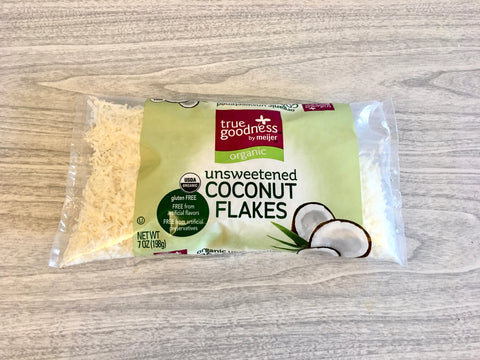
Alright, lets get to it! To start things out you will need some shredded coconut. For this I just make sure I buy an organic brand like I do with all ingredients. Though getting your own whole coconut and harvesting the coconut flesh to make the shreds yourself may be the freshest best option, for this recipe I will keep it simple with a bag of store bought organic coconut shreds.
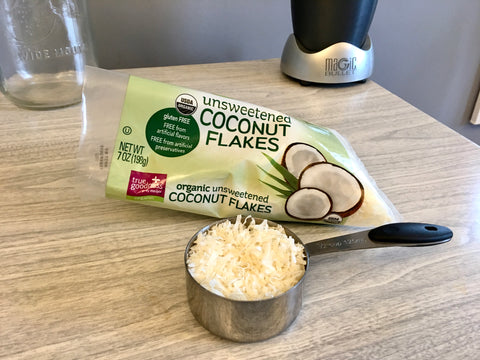
To start things out you will need a high-speed blender, or in my case I will be using my Nutribullet. If you have a high-speed blender that you are using, you can simply add the full 2 Cups of coconut shreds and the 3-4 cups of water to your blender and blend until it is fully mixed. For those who will be using a Nutirbullet like myself, you will divide the full 2 Cups of coconut shreds into four 1/2 Cup intervals.

Add the 1/2 Cup of coconut shreds into the bullet cup along with 3/4-1 Cup of water. This will depend on your desired thickness and taste of the milk. Place the bullet cup on the base and blend until the mixture is as smooth as it will get.

Now, you will need either a nutmilk bag, or in my case a cheesecloth worked great, to strain the coconut pulp from the milk. Place this nutmilk bag or cheesecloth over a large mixing bowl or pitcher. Once you have your straining station set up you can pour your coconut shreds and water mixture over the bag or cloth. If you are using the blender, just pour the whole mixture over it. For those following along with the Nutribullet, you will just repeat this process three more times.

Once the full amount of the coconut/water blend is poured over the bag or cloth, you can now squeeze it and strain the "coconut milk" out. After you have fully strained the milk from the bag or cloth, you are now ready to pour your milk into a sealable jar, jug or other container. I like to use a ball jar with these cool lids I found on Amazon. As for the "coconut pulp," it can be saved for baked goods, added to oatmeal, smoothies and more!

The last step is to add in a pinch of salt to help preserve the milk and keep it fresh. I like to use Himalayan pink salt because it contains trace minerals and the fact that rest research suggests most sea salt is contaminated with plastic. This is where the recipe can end for the die-hard minimalist. But, for those looking to add more flavor to their lives, there are several other ingredients that can be added.

I prefer a slightly sweetened, vanilla coconut milk myself. So I added 1/2 a Teaspoon of organic vanilla extract and 1 Tablespoon of local Michigan made maple syrup to the mix! Simply add the add-ons to your milk jug, jar or other container and give it a good shake! Take a taste and alter it to your needs.

Now that you have your coconut milk it will last in your refrigerator for up to 5 days, sometime more. Enjoy it cold or hot, use it in your shakes or smoothies. Make sure to give it a good shake before each use, do to the fact that it can separate sometimes with the added ingredients. I hope you enjoy this recipe and the savings it brings as much as I do!